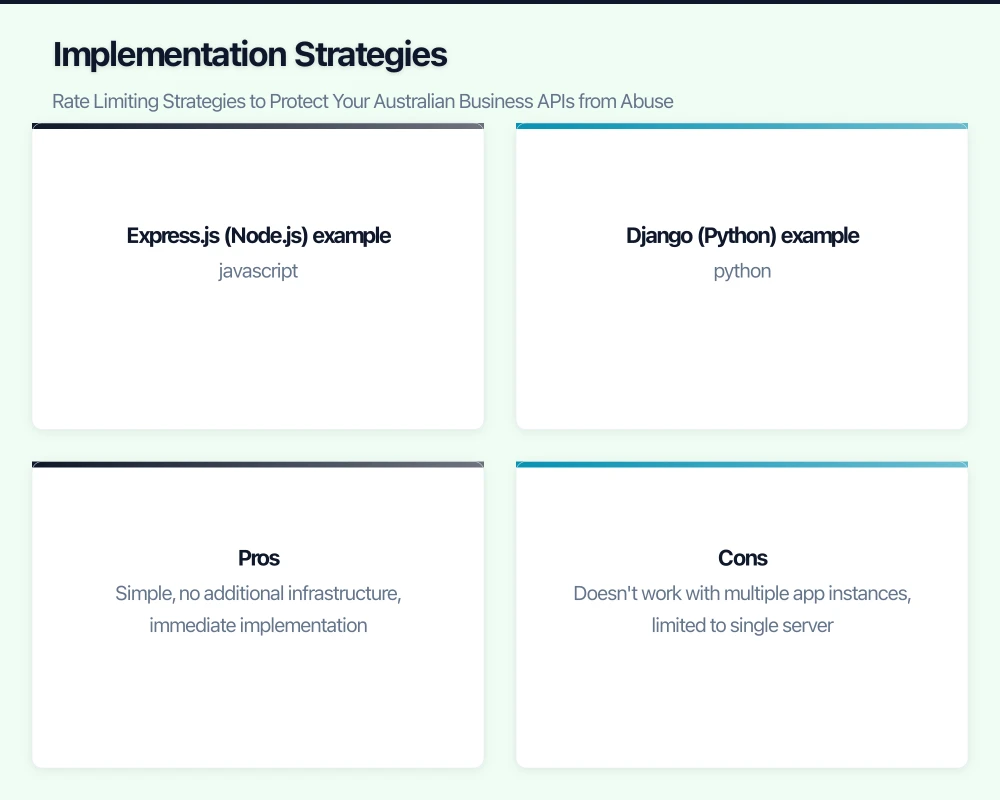
Rate Limiting Strategies to Protect Your Australian Business APIs from Abuse

Your API is live. Customers are integrating. Everything is working smoothly—until someone starts hammering your endpoints with thousands of requests per second. Maybe it’s a misconfigured client. Maybe it’s a malicious actor. Either way, your servers are struggling, legitimate users can’t connect, and you’re watching your AWS bill climb.
Rate limiting is your first line of defence. Done well, it protects your infrastructure, ensures fair access for legitimate users, and stops abuse before it causes damage.
This guide covers practical rate limiting strategies for Australian businesses, from basic implementations to sophisticated approaches that scale with your needs.
Why Rate Limiting Matters
Before diving into implementation, let’s understand what we’re protecting against:
Accidental abuse: A developer testing their integration forgets to add delays. Their script fires 10,000 requests in a minute instead of 100. Your database groans under the load.
Competitive scraping: A competitor wants your pricing data. They deploy bots that scrape your product catalogue faster than your website can handle.
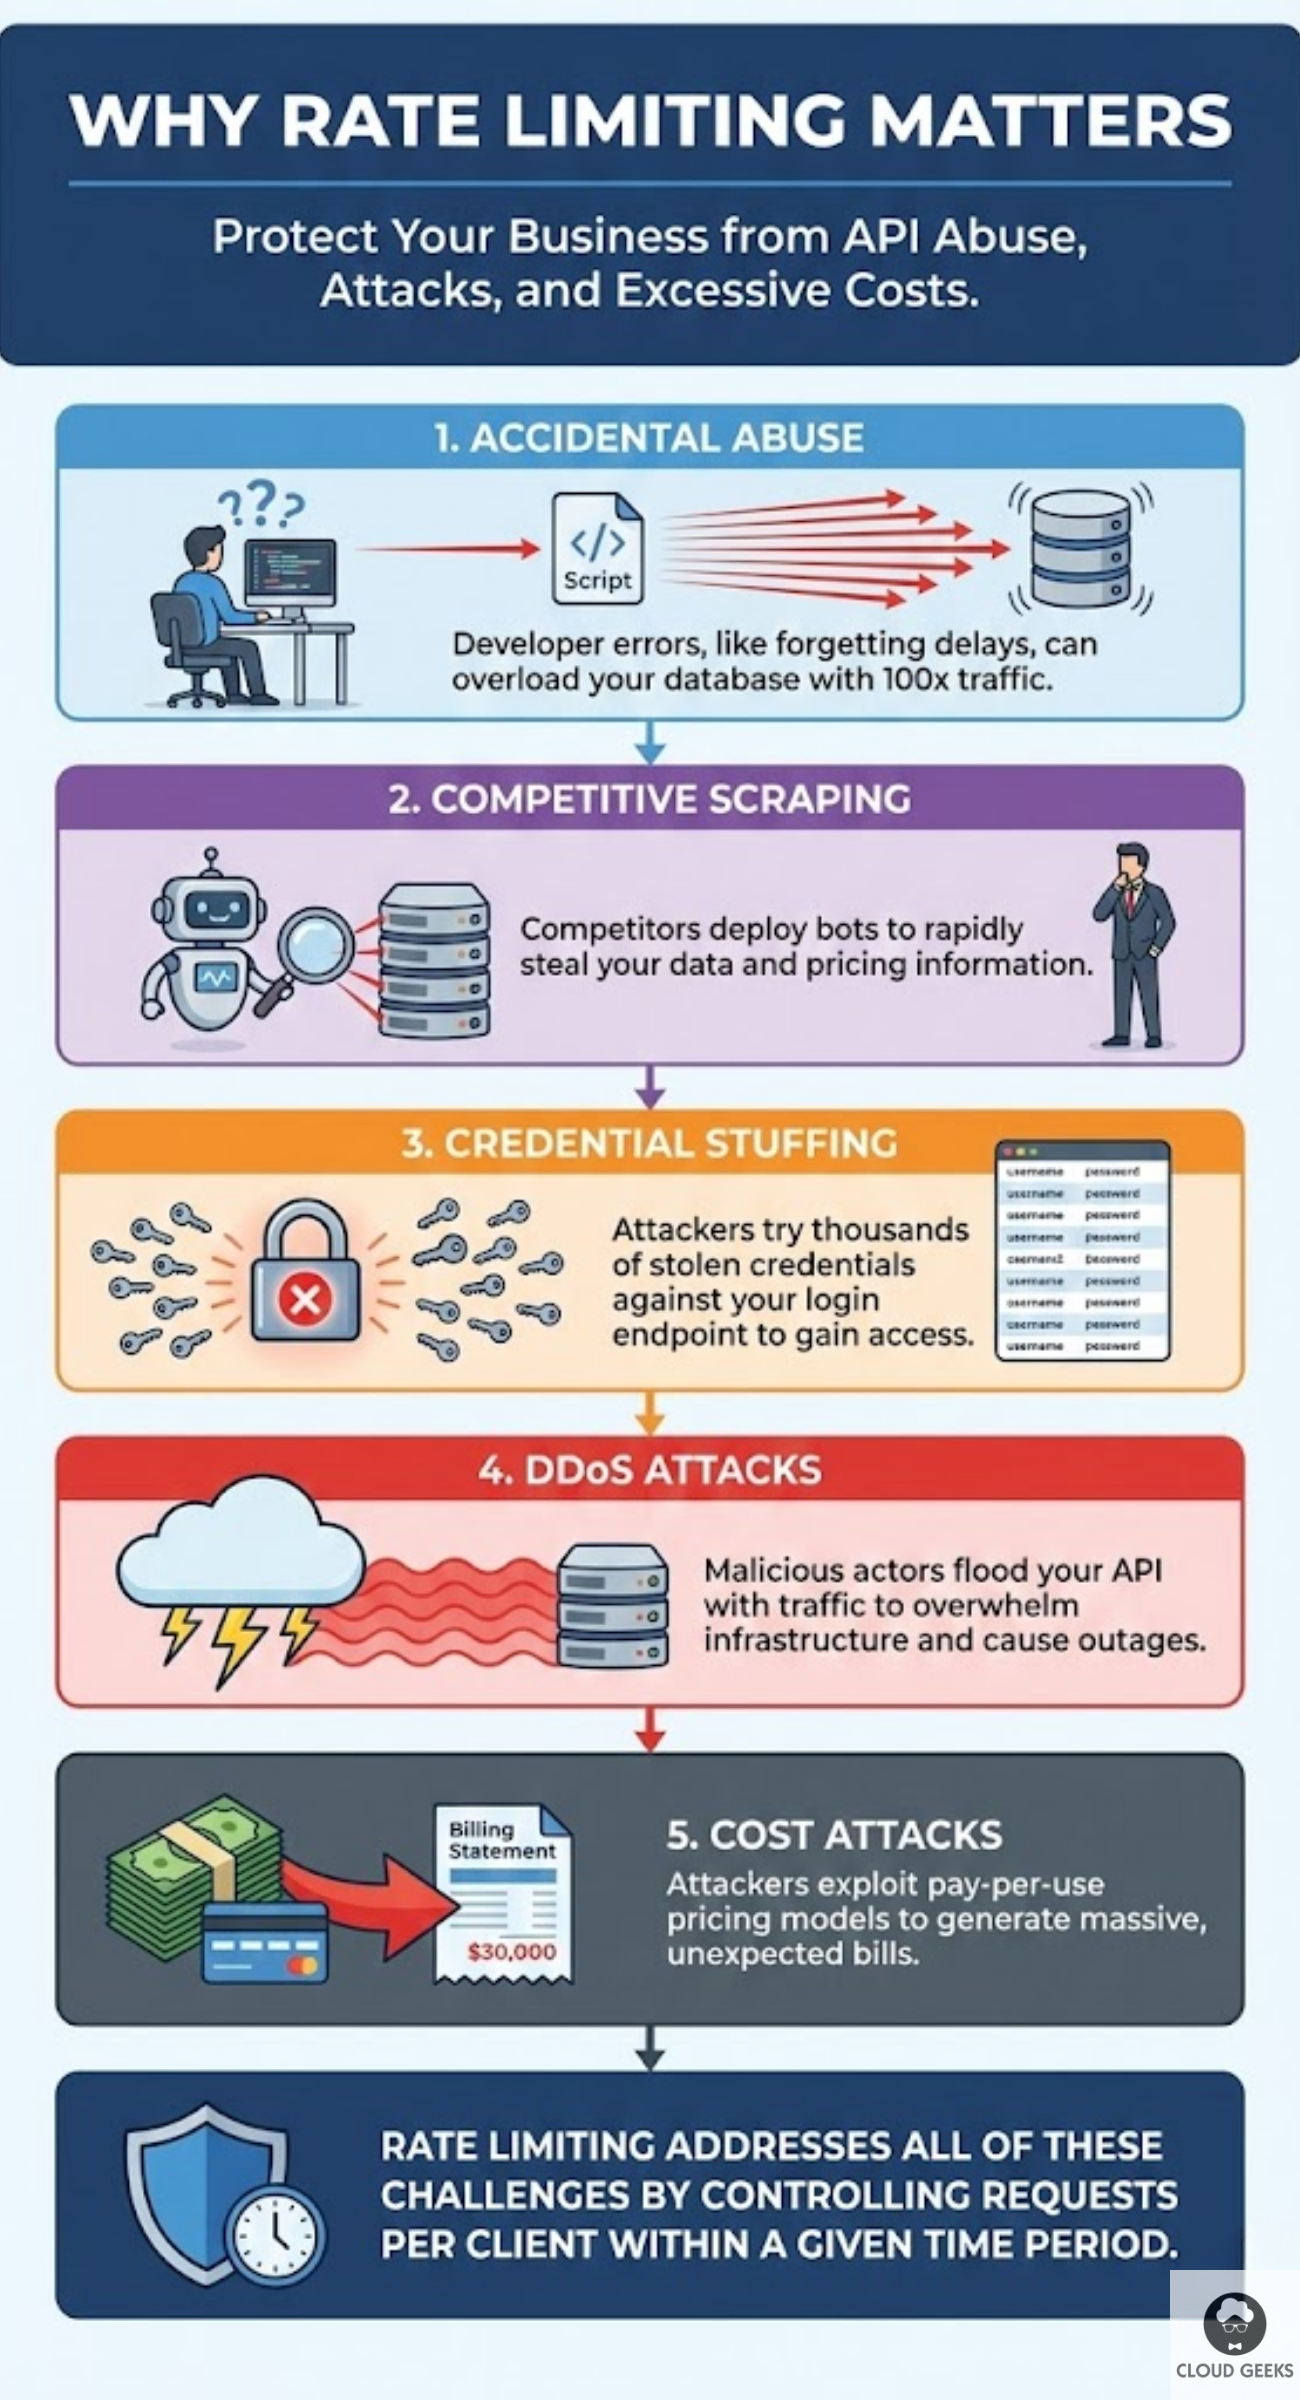
Credential stuffing: Attackers try thousands of stolen username/password combinations against your login endpoint, hoping some will work.
DDoS attacks: Malicious actors flood your API with traffic, overwhelming your infrastructure and taking your service offline.
Cost attacks: Attackers exploit pay-per-use pricing by generating massive API bills, hoping you’ll either pay up or shut down.
Rate limiting addresses all of these by controlling how many requests any client can make within a given time period.
Understanding Rate Limiting Basics
Key Concepts
Rate limit: The maximum number of requests allowed in a time window. Example: 100 requests per minute.
Time window: The period over which requests are counted. Common windows: per second, per minute, per hour, per day.
Identifier: How you identify clients. Options include:
- IP address
- API key
- User ID
- Combination of factors

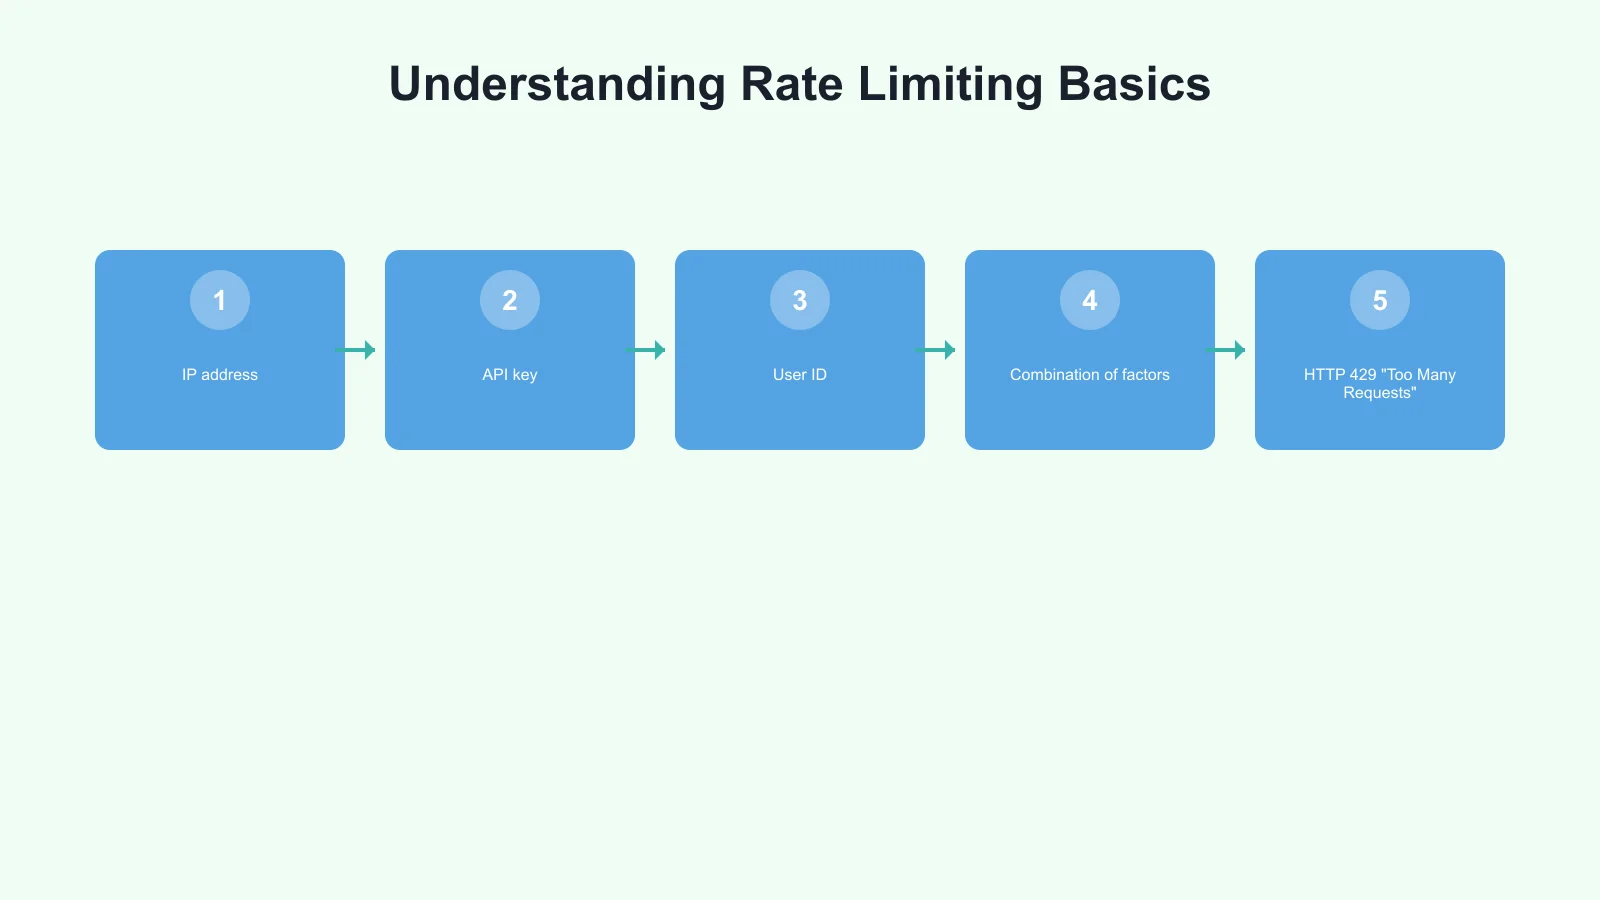
Response: What happens when limits are exceeded:
- HTTP 429 “Too Many Requests”
- Retry-After header indicating when to try again
- Reduced functionality (throttling)
Rate Limiting Algorithms
Fixed window: Count requests in fixed time periods (e.g., each calendar minute). Simple but can allow bursts at window boundaries.
Sliding window: Count requests over a rolling time period. Smoother limits but more complex to implement.
Token bucket: Clients have a “bucket” of tokens that refills over time. Each request consumes a token. Allows bursting while enforcing average rates.
Leaky bucket: Requests queue up and process at a fixed rate, like water through a hole. Provides very smooth output rates.
For most Australian SMBs, sliding window or token bucket provides the best balance of protection and user experience.
Implementation Strategies
Level 1: Application-Level Rate Limiting
The simplest approach—implement rate limiting directly in your application code.
Express.js (Node.js) example:
const rateLimit = require('express-rate-limit');

const apiLimiter = rateLimit({
  windowMs: 60 * 1000, // 1 minute
  max: 100, // 100 requests per minute
  message: {
    error: 'Too many requests, please try again later.',
    retryAfter: 60
  },
  standardHeaders: true, // Return rate limit info in headers
  legacyHeaders: false,
  keyGenerator: (req) => {
    // Use API key if present, otherwise IP
    return req.headers['x-api-key'] || req.ip;
  }
});

app.use('/api/', apiLimiter);
Django (Python) example:
# Using Django REST Framework
from rest_framework.throttling import UserRateThrottle, AnonRateThrottle

class BurstRateThrottle(UserRateThrottle):
    rate = '60/min'

class SustainedRateThrottle(UserRateThrottle):
    rate = '1000/hour'

# In settings.py
REST_FRAMEWORK = {
    'DEFAULT_THROTTLE_CLASSES': [
        'yourapp.throttling.BurstRateThrottle',
        'yourapp.throttling.SustainedRateThrottle',
    ],
}
Pros: Simple, no additional infrastructure, immediate implementation.
Cons: Doesn’t work with multiple app instances, limited to single server.
Level 2: Redis-Backed Distributed Rate Limiting
When running multiple application instances, you need shared state. Redis is the go-to solution.
Node.js with Redis:
const Redis = require('ioredis');
const redis = new Redis(process.env.REDIS_URL);

async function checkRateLimit(identifier, limit, windowSeconds) {
  const key = `ratelimit:${identifier}`;
  const current = await redis.incr(key);

  if (current === 1) {
    await redis.expire(key, windowSeconds);
  }

  const remaining = Math.max(0, limit - current);
  const allowed = current <= limit;

  return {
    allowed,
    remaining,
    resetTime: await redis.ttl(key)
  };
}

// Usage in middleware
app.use('/api/', async (req, res, next) => {
  const identifier = req.headers['x-api-key'] || req.ip;
  const { allowed, remaining, resetTime } = await checkRateLimit(
    identifier,
    100, // 100 requests
    60   // per 60 seconds
  );

  res.setHeader('X-RateLimit-Remaining', remaining);
  res.setHeader('X-RateLimit-Reset', resetTime);

  if (!allowed) {
    return res.status(429).json({
      error: 'Rate limit exceeded',
      retryAfter: resetTime
    });
  }

  next();
});
Using sliding window with Redis:
async function slidingWindowRateLimit(identifier, limit, windowSeconds) {
  const now = Date.now();
  const key = `ratelimit:${identifier}`;
  const windowStart = now - (windowSeconds * 1000);

  await redis.zremrangebyscore(key, 0, windowStart);
  const count = await redis.zcard(key);

  if (count >= limit) {
    return { allowed: false, remaining: 0 };
  }

  await redis.zadd(key, now, `${now}-${Math.random()}`);
  await redis.expire(key, windowSeconds);

  return {
    allowed: true,
    remaining: limit - count - 1
  };
}
Pros: Works across multiple servers, accurate counting, supports advanced algorithms.
Cons: Requires Redis infrastructure, adds latency (typically 1-5ms per check).
Level 3: API Gateway Rate Limiting
For production systems, implement rate limiting at the gateway level before requests reach your application.
AWS API Gateway:
# serverless.yml (Serverless Framework)
functions:
  api:
    handler: handler.main
    events:
      - http:
          path: /api/{proxy+}
          method: any
          throttling:
            burstLimit: 200
            rateLimit: 100  # requests per second
Kong Gateway (popular for Australian enterprises):
# kong.yml
plugins:
  - name: rate-limiting
    config:
      minute: 100
      hour: 1000
      policy: redis
      redis_host: redis.internal
      redis_port: 6379
      fault_tolerant: true
      hide_client_headers: false
NGINX:
http {
    limit_req_zone $binary_remote_addr zone=api_limit:10m rate=10r/s;

    server {
        location /api/ {
            limit_req zone=api_limit burst=20 nodelay;
            limit_req_status 429;

            proxy_pass http://backend;
        }
    }
}
Pros: Protects backend completely, handles scale efficiently, no application code changes.
Cons: Less granular control, may not have access to user context.
Level 4: CDN/Edge Rate Limiting
For maximum protection, apply rate limiting at the edge—close to attackers, far from your infrastructure.
Cloudflare (popular with Australian businesses):
Cloudflare’s rate limiting rules can be configured through their dashboard or API:
// Cloudflare Rule example
{
  "expression": "(http.request.uri.path matches \"^/api/\")",
  "action": "rate_limit",
  "ratelimit": {
    "characteristics": ["ip.src", "cf.unique_visitor_id"],
    "period": 60,
    "requests_per_period": 100,
    "mitigation_timeout": 60
  }
}
AWS CloudFront with WAF:
{
  "Name": "APIRateLimit",
  "Priority": 1,
  "Statement": {
    "RateBasedStatement": {
      "Limit": 2000,
      "AggregateKeyType": "IP"
    }
  },
  "Action": {
    "Block": {}
  },
  "VisibilityConfig": {
    "SampledRequestsEnabled": true,
    "CloudWatchMetricsEnabled": true,
    "MetricName": "APIRateLimit"
  }
}
Pros: Stops attacks before they reach your infrastructure, global coverage, absorbs large DDoS attacks.
Cons: Less visibility into request details, coarser granularity, additional cost.
Designing Effective Rate Limits
Tiered Limits by User Type
Different users deserve different limits:
const rateLimits = {
  anonymous: { requests: 20, window: 60 },      // 20/minute
  authenticated: { requests: 100, window: 60 }, // 100/minute
  premium: { requests: 1000, window: 60 },      // 1000/minute
  partner: { requests: 10000, window: 60 }      // 10000/minute
};

async function getRateLimit(req) {
  if (!req.user) return rateLimits.anonymous;
  if (req.user.plan === 'premium') return rateLimits.premium;
  if (req.user.isPartner) return rateLimits.partner;
  return rateLimits.authenticated;
}
Endpoint-Specific Limits
Not all endpoints are equal. Expensive operations need stricter limits:
const endpointLimits = {
  'POST /api/search': { requests: 10, window: 60 },    // Expensive query
  'GET /api/products': { requests: 100, window: 60 },  // Cached, cheap
  'POST /api/orders': { requests: 5, window: 60 },     // Critical, rate-limit heavily
  'POST /api/login': { requests: 5, window: 300 }      // Prevent brute force
};
Cost-Based Rate Limiting
Assign costs to different operations and limit by total cost:
const operationCosts = {
  'simple_read': 1,
  'complex_query': 10,
  'write_operation': 5,
  'file_upload': 20
};

const costLimit = 1000; // per minute

async function checkCostRateLimit(identifier, operation) {
  const cost = operationCosts[operation] || 1;
  const key = `cost_limit:${identifier}`;

  const currentCost = await redis.get(key) || 0;

  if (parseInt(currentCost) + cost > costLimit) {
    return { allowed: false };
  }

  await redis.incrby(key, cost);
  await redis.expire(key, 60);

  return {
    allowed: true,
    remainingCost: costLimit - parseInt(currentCost) - cost
  };
}
Communicating Rate Limits
Good rate limiting includes clear communication:
Standard Headers
HTTP/1.1 200 OK
X-RateLimit-Limit: 100
X-RateLimit-Remaining: 45
X-RateLimit-Reset: 1696425600
429 Response Format
{
  "error": {
    "code": "RATE_LIMIT_EXCEEDED",
    "message": "You have exceeded the rate limit of 100 requests per minute.",
    "retryAfter": 32,
    "documentation": "https://api.yourcompany.com.au/docs/rate-limits"
  }
}
Document Your Limits
Create clear documentation for API consumers:
## Rate Limits

All API endpoints are rate-limited to ensure fair usage.

| Plan       | Requests/Minute | Requests/Hour |
|------------|-----------------|---------------|
| Free       | 20              | 500           |
| Basic      | 100             | 5,000         |
| Pro        | 1,000           | 50,000        |
| Enterprise | Custom          | Custom        |

When you exceed rate limits, you'll receive a 429 response with a
`Retry-After` header indicating when you can resume requests.
Monitoring and Alerting
Rate limiting generates valuable security signals:
Key metrics to track:
- Rate limit hits by endpoint
- Rate limit hits by client
- Percentage of requests rate-limited
- Top clients by request volume
Alert triggers:
- Single client hitting limits repeatedly
- Unusual spike in rate-limited requests
- New clients generating high volumes immediately
Example CloudWatch alarm:
{
  "AlarmName": "HighRateLimitHits",
  "MetricName": "RateLimitedRequests",
  "Threshold": 1000,
  "Period": 300,
  "EvaluationPeriods": 2,
  "ComparisonOperator": "GreaterThanThreshold"
}
Common Mistakes to Avoid
Mistake 1: Rate limiting only by IP Shared IPs (corporate networks, mobile carriers) mean legitimate users get blocked together. Use API keys or user IDs where possible.
Mistake 2: Setting limits too low Overly aggressive limits frustrate legitimate users. Start permissive and tighten based on data.
Mistake 3: No grace for bursts Token bucket or allowing small bursts prevents punishing users for reasonable usage spikes.
Mistake 4: Inconsistent limits Apply limits consistently. A user shouldn’t be limited on one server but not another.
Mistake 5: No monitoring Without visibility, you won’t know if limits are too strict or if attacks are happening.
Australian-Specific Considerations
Geographic distribution: If your users are primarily Australian, consider tighter limits for international traffic or implement geographic-based rules.
Time zones: Reset daily limits at midnight AEST/AEDT, not UTC, for better user experience.
Compliance: Ensure rate limiting doesn’t interfere with legitimate access requirements under Australian Consumer Law.
Getting Started
Here’s a practical path to implementing rate limiting:
Week 1: Implement basic application-level rate limiting with generous limits. Log everything.
Week 2: Analyse logs to understand normal traffic patterns. Identify problem clients or endpoints.
Week 3: Deploy Redis-backed rate limiting if running multiple instances. Refine limits based on data.
Week 4: Add rate limiting at your CDN or API gateway for defence in depth.
Ongoing: Monitor, adjust, and respond to new patterns as they emerge.
Conclusion
Rate limiting isn’t just about stopping attackers—it’s about building a reliable, fair API that serves all your customers well. Without it, a single misbehaving client can ruin the experience for everyone.
Start with simple application-level limits, graduate to distributed solutions as you scale, and layer edge protection for defence in depth. The investment pays off in stability, predictable costs, and security.
Your API deserves protection. Your customers deserve reliable access. Rate limiting delivers both.
Need help securing your APIs? Contact CloudGeeks for expert assistance with API security, rate limiting, and DDoS protection strategies for Australian businesses.
Related Articles
- RESTful APIs for Australian Business Applications: A Practical Guide
- Building a Cybersecurity-First Culture in the Age of AI
- Payment Gateway Integration for Australian E-Commerce: Stripe vs PayPal
- Speed Up Your Australian Business Website: Caching and CDN Strategies
- Data Sovereignty 101: Keeping Your AI Australian
Need mobile access to your cloud systems? Our app development team at Awesome Apps builds iOS and Android apps for Australian businesses.
Ganda Tech Services brings together cloud infrastructure, web development, and mobile app expertise to help Australian businesses thrive in the digital economy.