Setting Up a Small Business Network: Step-by-Step Guide
Setting Up a Small Business Network: Step-by-Step Guide
Whether you are moving into a new office, upgrading from a consumer setup, or opening your first business premises, a properly designed network is the foundation for everything your business does digitally. Email, cloud applications, phone systems, printers, and security cameras all depend on a reliable network.
This guide walks you through setting up a small business network from scratch, covering hardware selection, configuration, and best practices for offices with 5 to 30 staff.
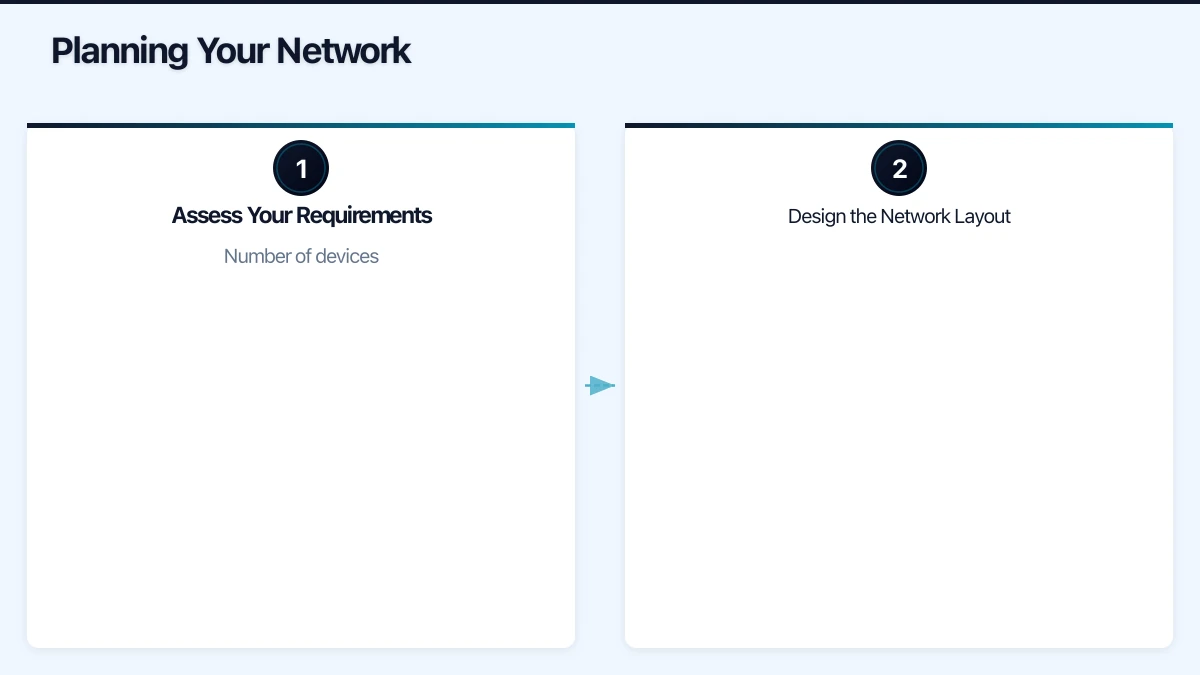
Planning Your Network
Before purchasing any equipment, plan what you need.
Assess Your Requirements
Number of devices: Count every device that will connect to the network:
- Desktops and laptops (wired or WiFi)
- Mobile phones (WiFi)
- Printers and scanners
- VoIP phones
- Security cameras
- Smart TVs or displays
- Any other networked devices
Internet requirements: Estimate your total bandwidth needs. For general office use (email, web, cloud applications), plan for 5 to 10 Mbps per concurrent user. For businesses that rely heavily on video conferencing or transfer large files, plan for more.
Wired vs wireless: Determine which devices will use wired connections and which will use WiFi. Generally:
- Desktops, VoIP phones, printers, and servers should be wired for reliability.
- Laptops, mobile phones, and tablets typically use WiFi.
Network services: Will you run any on-premises servers? Do you need a VPN for remote access? Do you have VoIP phones that need PoE (Power over Ethernet)?
Design the Network Layout
Sketch a simple network diagram showing:
- Where your internet connection enters the building.
- Where the firewall and switch will be located (ideally in a dedicated, lockable network cabinet).
- Where wired network ports are needed (at desks, in meeting rooms, at printer locations).
- Where WiFi access points will be placed for optimal coverage.
Engage a qualified cabler if you need to run new Ethernet cables. Use Cat 6 or Cat 6A cable for future-proofing — it supports higher speeds and is not significantly more expensive than Cat 5e.
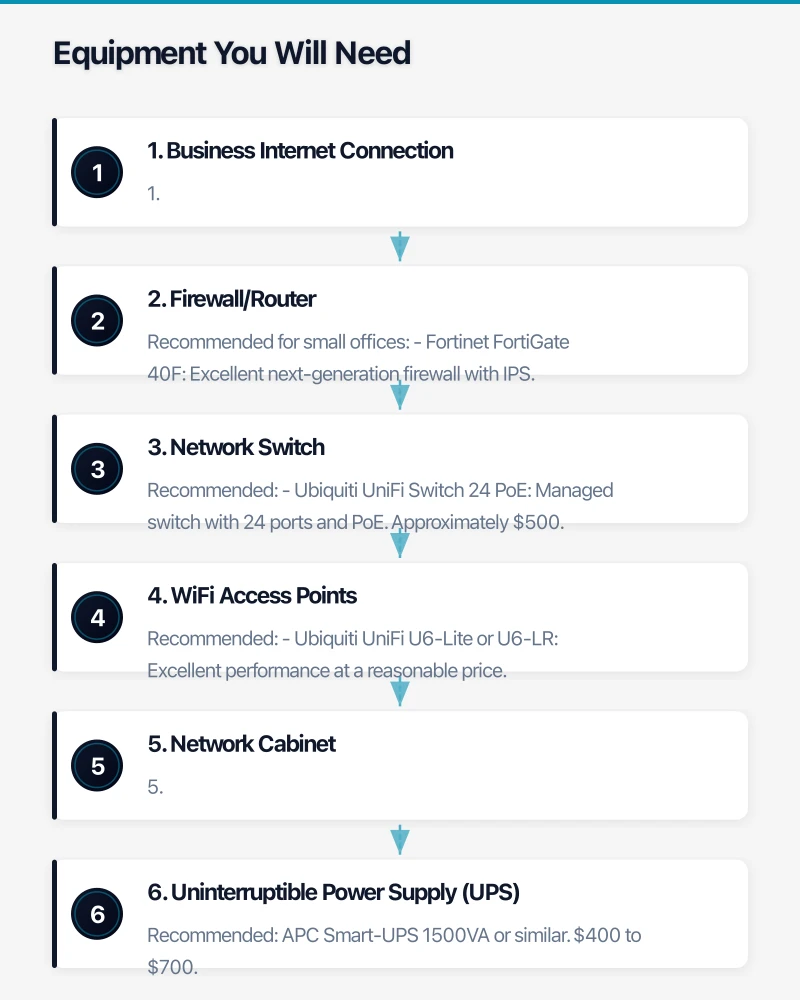
Equipment You Will Need
Here is the essential equipment for a small business network:
1. Business Internet Connection
Contact your internet service provider and choose a business-grade plan. Key considerations:
- Speed: For 10 to 20 users, a plan with 50 to 100 Mbps download and 20 to 40 Mbps upload is generally sufficient.
- Static IP address: Needed if you will run a VPN, host services, or need consistent remote access.
- SLA: Business-grade plans often include service level agreements with faster fault resolution.
- NBN technology: If you are on NBN, FTTP or FTTC provides the best experience. FTTN is variable depending on your distance from the node.
Budget: $100 to $500 per month depending on speed and SLA.
2. Firewall/Router
The firewall is the most critical piece of network security equipment. Do not use the modem/router provided by your ISP as your primary network device.
Recommended for small offices:
- Fortinet FortiGate 40F: Excellent next-generation firewall with IPS, web filtering, and VPN. Approximately $600 plus $300/year for security subscriptions.
- SonicWall TZ270: Solid SMB firewall. Similar pricing to Fortinet.
- Ubiquiti UniFi Dream Machine Pro: More affordable option with good routing and basic firewall features, though less sophisticated on advanced security. Approximately $600.
The firewall connects to your ISP modem and serves as the gateway for all network traffic.
3. Network Switch
A switch connects all your wired devices. Key specifications:
- Ports: Count your wired devices and add 25% for growth. For 15 wired devices, a 24-port switch is appropriate.
- PoE (Power over Ethernet): If you have VoIP phones or WiFi access points, PoE eliminates the need for separate power supplies. Look for a switch with enough PoE budget for your devices.
- Managed vs unmanaged: A managed switch allows VLAN configuration and QoS, which are important for VoIP and network segmentation. An unmanaged switch is cheaper but offers no configuration options.
Recommended:
- Ubiquiti UniFi Switch 24 PoE: Managed switch with 24 ports and PoE. Approximately $500.
- Cisco Catalyst or SG series: Enterprise-grade reliability. $400 to $1,200 depending on model.
- HPE OfficeConnect or Aruba Instant On: Good mid-range options. $300 to $800.
4. WiFi Access Points
Do not rely on the WiFi from a consumer router. Business-grade access points provide:
- Better range and performance
- Support for more simultaneous devices
- Centralised management
- VLAN support for network segmentation
Recommended:
- Ubiquiti UniFi U6-Lite or U6-LR: Excellent performance at a reasonable price. $150 to $250 each.
- Cisco Meraki MR series: Cloud-managed with excellent features, but requires an annual licence. $300 to $600 each plus licence.
- Aruba Instant On: Good balance of features and price. $200 to $400 each.
How many? One access point covers approximately 50 to 100 square metres effectively (depending on walls and interference). A small office of 200 square metres typically needs 2 to 3 access points.
5. Network Cabinet
A wall-mounted or freestanding network cabinet keeps your equipment organised, secure, and properly ventilated. A 12U or 18U wall-mount cabinet is sufficient for most small offices. Cost: $200 to $500.
6. Uninterruptible Power Supply (UPS)
A UPS protects your network equipment from power surges and provides battery backup during short outages, keeping your network running while you save work and shut down gracefully.
Recommended: APC Smart-UPS 1500VA or similar. $400 to $700. Ensure it has enough capacity for your firewall, switch, and access points.
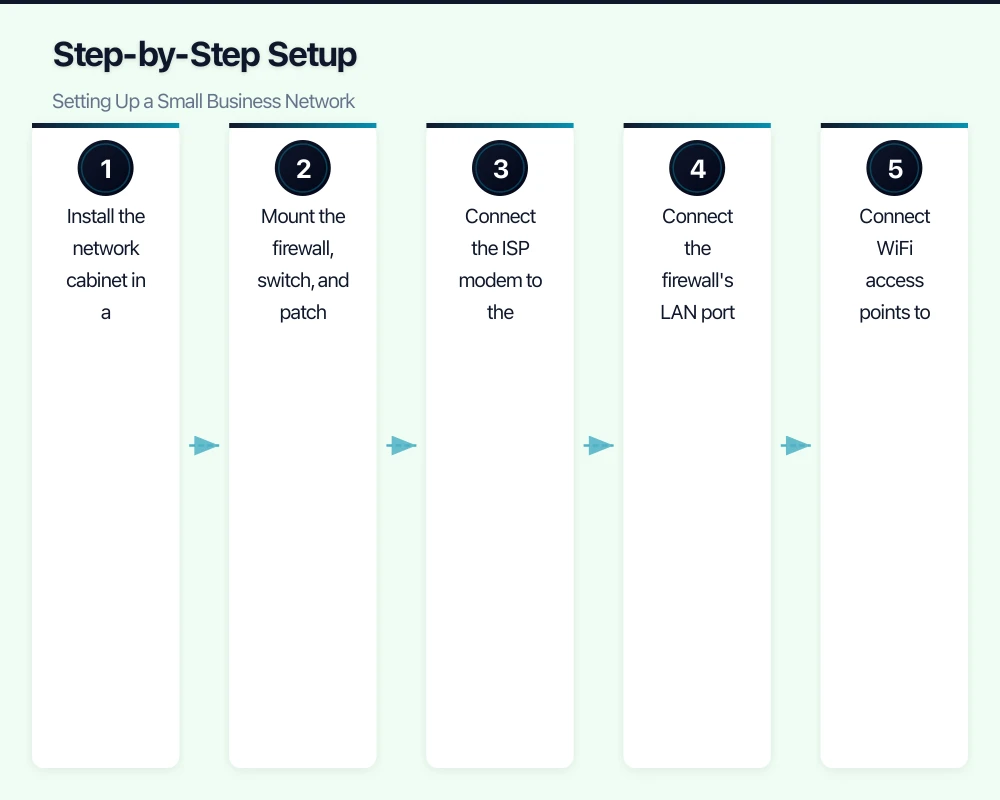
Step-by-Step Setup
Step 1: Physical Installation
- Install the network cabinet in a well-ventilated, secure location.
- Mount the firewall, switch, and patch panel in the cabinet.
- Connect the ISP modem to the firewall’s WAN port.
- Connect the firewall’s LAN port to the switch.
- Connect WiFi access points to the switch (using PoE if available).
- Connect all structured cabling to the patch panel and cross-connect to the switch.
- Connect the UPS and plug critical equipment into it.
Step 2: Configure the Firewall
This is the most technical step and may require your IT provider’s assistance.
Essential configuration:
- Set up the WAN connection (static IP or DHCP depending on your ISP plan).
- Configure the LAN subnet (typically 192.168.1.0/24 or 10.0.0.0/24).
- Enable DHCP to automatically assign IP addresses to devices.
- Set DNS servers (your ISP’s, or better yet, a filtering DNS like Cisco Umbrella or Cloudflare).
- Configure firewall rules: default deny inbound, allow necessary outbound.
- Enable intrusion prevention system (IPS).
- Enable web filtering.
- Set up VPN if remote access is required.
- Configure QoS if using VoIP phones.
- Change the default admin password to something strong.
- Enable logging.
Step 3: Configure VLANs
Set up at least three VLANs on your switch and firewall:
- VLAN 10 — Corporate: Staff computers and business devices.
- VLAN 20 — Guest: Guest WiFi, completely isolated from the corporate network.
- VLAN 30 — IoT/Phones: VoIP phones, security cameras, and other IoT devices.
Configure firewall rules between VLANs to control what traffic can cross between segments.
Step 4: Configure WiFi
Set up wireless networks on your access points:
- Corporate SSID: WPA2-Enterprise (with RADIUS) or WPA2-Personal with a strong passphrase. Assigned to the corporate VLAN.
- Guest SSID: WPA2-Personal with a simpler password (that you change regularly). Assigned to the guest VLAN. Implement a captive portal if desired.
- IoT SSID (optional): For wireless IoT devices. Assigned to the IoT VLAN.
Position access points centrally and at consistent height (ceiling-mounted is ideal). Avoid placing them near metal objects, microwaves, or other sources of interference.
Step 5: Connect and Test Devices
Connect devices to the network and verify:
- Wired devices receive IP addresses via DHCP.
- WiFi devices can connect to the appropriate SSID.
- Internet access works from all VLANs.
- Corporate devices can reach internal resources (servers, printers).
- Guest devices can access the internet but cannot reach corporate resources.
- VoIP phones have clear call quality.
Step 6: Configure Printers
- Connect printers to the network (wired connection preferred for shared printers).
- Assign static IP addresses or DHCP reservations to printers so their address does not change.
- Install printer drivers on staff computers.
Step 7: Document Everything
Create a network documentation package:
- Network diagram showing all equipment and connections.
- IP address scheme (subnets, VLAN assignments, static IPs).
- WiFi SSIDs and passwords.
- Firewall admin credentials (stored securely).
- Switch and access point management credentials.
- ISP account details and support contact.
- Hardware serial numbers and warranty information.
Store this documentation securely — it contains sensitive information. Your MSP should also have a copy.
Budget Summary
For a small office with 15 to 20 users:
| Item | Estimated Cost |
|---|---|
| Business internet setup | $0 - $300 (one-time) |
| Firewall | $600 - $1,200 |
| Firewall security licence (annual) | $300 - $600 |
| 24-port PoE managed switch | $400 - $800 |
| WiFi access points (3 units) | $450 - $1,200 |
| Network cabinet | $200 - $500 |
| UPS | $400 - $700 |
| Cabling and patch panels | $500 - $2,000 |
| Professional installation and configuration | $1,500 - $3,000 |
| Total | $4,350 - $10,300 |
Ongoing costs: Internet ($100 to $500/month), firewall subscription ($300 to $600/year).
Ongoing Maintenance
A network is not “set and forget.” Regular maintenance keeps it running securely:
- Monthly: Check for firmware updates on firewall, switch, and access points. Review firewall logs for unusual activity.
- Quarterly: Review and update WiFi passwords. Verify network documentation is current. Check UPS battery health.
- Annually: Review the overall network design. Assess whether performance meets business needs. Plan for any necessary upgrades.
If you have a managed IT services provider, these tasks should be part of their service.
Common Mistakes to Avoid
- Using consumer equipment: Consumer routers and switches lack the security features, performance, and management capabilities businesses need.
- No network segmentation: Putting everything on one flat network makes it easy for a compromise to spread.
- Weak WiFi passwords: Use long, random passwords for corporate WiFi. Change the guest password regularly.
- No documentation: When the person who set up the network is unavailable, documentation is essential.
- Insufficient WiFi coverage: Dead spots frustrate staff and push them to use personal hotspots, bypassing your security.
- No UPS: A power surge can destroy network equipment. A UPS is inexpensive insurance.
- Ignoring updates: Network device firmware updates include security patches. Keeping them current is critical.
Getting Started
If your office is running on consumer equipment or has grown beyond its original network setup, a proper business network is one of the best investments you can make. Start by planning your requirements, engage a qualified IT provider for the installation, and establish ongoing maintenance practices.
A well-designed network is invisible when it works — which is exactly the point. Your team should be able to focus on their work without thinking about connectivity, and you should be confident that your business is operating on a secure, reliable foundation.
Pairing cloud infrastructure with a professional website amplifies your online presence. Cosmos Web Tech builds high-performance sites that make the most of solid hosting foundations.
Cloud Geeks operates under the Ganda Tech Services umbrella, delivering end-to-end technology solutions for Australian businesses.