Setting Up Azure Virtual Desktop for Remote Teams
Setting Up Azure Virtual Desktop for Remote Teams
Azure Virtual Desktop (AVD) has matured significantly since its launch, and for Australian businesses with remote or hybrid teams, it represents one of the most capable virtual desktop solutions available. Unlike traditional VDI that requires substantial on-premise infrastructure, AVD runs entirely in Azure, with Microsoft managing the control plane while you manage the session hosts and user experience.
This guide covers the practical steps to deploy AVD for a typical Australian SMB, from architecture decisions through to ongoing management.
When AVD Makes Sense
AVD is not the right solution for every business. It makes sense when:
- Your team needs to access Windows desktops from various devices and locations
- You have compliance requirements that mandate data stays in the data centre (not on endpoint devices)
- You want to standardise the desktop environment regardless of what hardware people use
- You have seasonal or temporary workers who need quick provisioning and deprovisioning
- Your staff use thin clients, Macs, or personal devices that need access to Windows applications
AVD does not make sense if your team already has capable laptops, works primarily with cloud-based applications (Microsoft 365 web apps, SaaS tools), and does not handle sensitive data that needs to remain centralised.
Architecture Overview
An AVD deployment consists of several components:
Control plane (managed by Microsoft):
- Gateway, broker, diagnostics, and web access services
- No cost for the control plane itself
- Runs in Microsoft’s global infrastructure
Session hosts (managed by you):
- Azure virtual machines running Windows 10 or 11 Enterprise multi-session, or Windows Server
- These are the machines users actually connect to
- You pay for VM compute, storage, and networking
User profiles:
- FSLogix profile containers store user profiles on Azure Files or Azure NetApp Files
- Profiles attach dynamically when users sign in to any session host
Networking:
- Virtual network in your chosen Azure region
- Network security groups for traffic control
- Optional VPN or ExpressRoute for connectivity to on-premise resources
Identity:
- Azure Active Directory for cloud identity
- Active Directory Domain Services (either on-premise or Azure AD DS) for domain joining session hosts
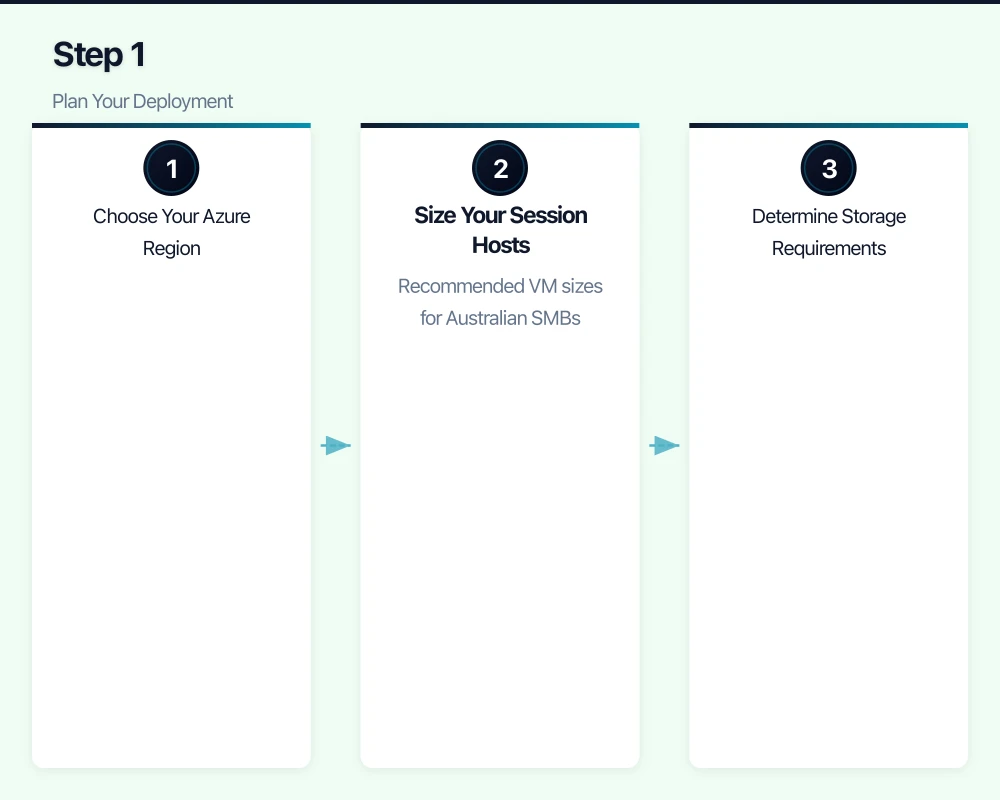
Step 1: Plan Your Deployment
Choose Your Azure Region
For Australian businesses, use either:
- Australia East (Sydney): Primary region, best latency for east coast users
- Australia Southeast (Melbourne): Secondary region, useful for disaster recovery
If most of your users are on the east coast, Australia East is the standard choice.
Size Your Session Hosts
AVD supports multi-session Windows 10 and 11, meaning multiple users share a single VM. This significantly reduces costs compared to one VM per user.
Recommended VM sizes for Australian SMBs:
- Light office work (email, web browsing, Office documents): D2s_v3 (2 vCPU, 8 GB RAM) supports 4 to 6 users
- Standard office work (Office apps, Teams, moderate multitasking): D4s_v3 (4 vCPU, 16 GB RAM) supports 6 to 10 users
- Power users (large spreadsheets, databases, development): D8s_v3 (8 vCPU, 32 GB RAM) supports 4 to 8 power users or 10 to 16 standard users
Calculate your needs: If you have 30 standard office users, you need approximately three to five D4s_v3 VMs. Always provision at least one extra session host for redundancy.
Determine Storage Requirements
Each component needs storage:
- OS disks: Premium SSD for session hosts (128 GB per VM minimum)
- User profiles (FSLogix): Azure Files Premium, sized based on user profile sizes. Budget 5 to 15 GB per user for typical profiles.
- Shared data: If users need access to shared folders, Azure Files or a file server VM
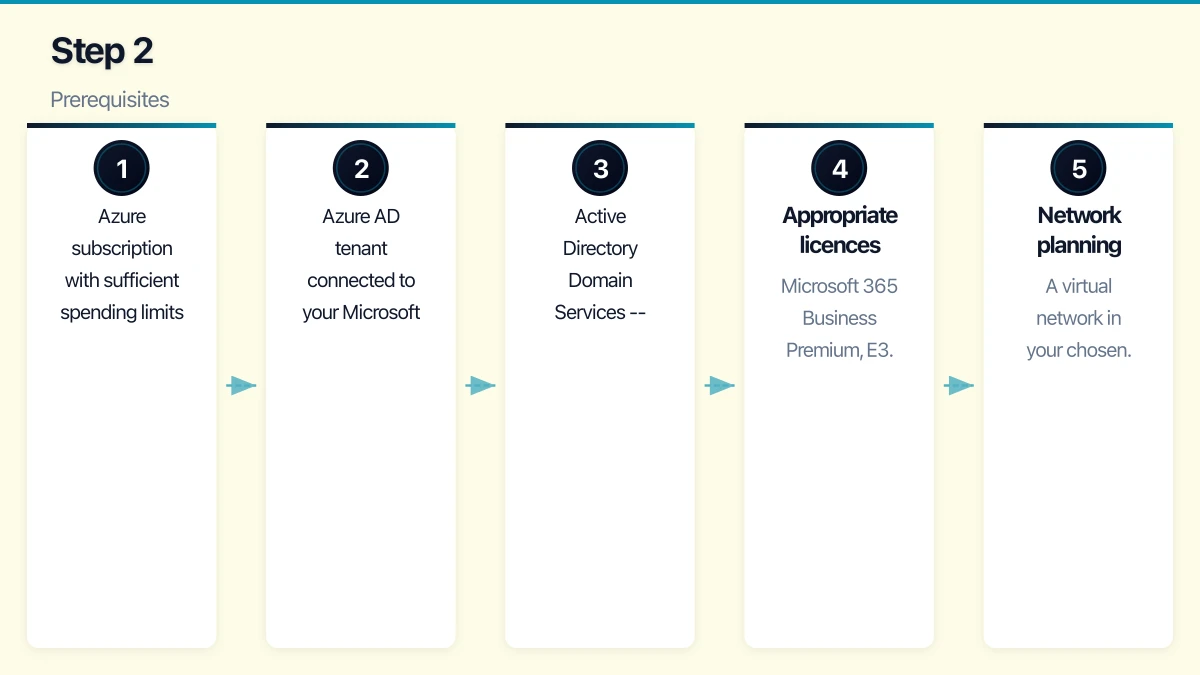
Step 2: Prerequisites
Before deploying AVD, ensure you have:
- Azure subscription with sufficient spending limits or pay-as-you-go billing
- Azure AD tenant connected to your Microsoft 365 subscription
- Active Directory Domain Services — either:
- On-premise AD with Azure AD Connect syncing identities to Azure AD, plus a site-to-site VPN or ExpressRoute to Azure
- Azure AD Domain Services (Azure AD DS), a managed domain service in Azure that eliminates the need for on-premise AD
- Appropriate licences: Microsoft 365 Business Premium, E3, or E5 include AVD usage rights for Windows 10/11 multi-session. Alternatively, Windows 10/11 Enterprise E3 licences.
- Network planning: A virtual network in your chosen Azure region with appropriate subnets and DNS configuration
For Australian SMBs without on-premise Active Directory, Azure AD DS is the simpler path. It costs approximately $160 per month for the Standard SKU but eliminates the complexity of maintaining domain controllers.
Step 3: Deploy the Infrastructure
Create the Virtual Network
- In the Azure portal, create a new Virtual Network in your chosen region
- Configure address space (for example, 10.0.0.0/16)
- Create subnets:
- Session hosts subnet (for example, 10.0.1.0/24)
- Azure AD DS subnet if applicable (for example, 10.0.2.0/24)
- Configure DNS settings to point to your domain controllers (Azure AD DS IP addresses or on-premise DNS via VPN)
Enable Azure AD Domain Services (if not using on-premise AD)
- Create an Azure AD DS instance in the Azure portal
- Select your Azure region and virtual network
- Choose the Standard SKU for production use
- Wait for provisioning (can take up to an hour)
- Update the virtual network DNS settings to use the Azure AD DS IP addresses
Set Up Azure Files for FSLogix Profiles
- Create a Storage Account in the same region as your session hosts
- Enable Azure Files Premium (for consistent performance)
- Create a file share named “profiles”
- Size the share based on your user count (for example, 500 GB for 30 users with 15 GB each)
- Configure Active Directory authentication for the file share
Step 4: Create the Host Pool
The host pool is the core AVD resource that groups your session hosts together.
-
In the Azure portal, search for “Azure Virtual Desktop”
-
Select “Host pools” and click “Create”
-
Configure:
- Name: A descriptive name (for example, “Production-Office”)
- Location: Metadata location (does not affect VM location)
- Host pool type: Pooled (multi-session) for most scenarios. Personal if each user needs a dedicated VM.
- Load balancing: Breadth-first (distributes users evenly across hosts) for most scenarios
- Max session limit: Based on your VM sizing (for example, 8 for D4s_v3)
-
On the Virtual Machines tab:
- Select your Azure region (Australia East)
- Choose your VM size
- Set the number of VMs
- Select your image (Windows 10/11 Enterprise multi-session with Microsoft 365 Apps)
- Join to your AD domain
- Configure the virtual network and subnet
-
On the Workspace tab:
- Create a new workspace or use an existing one
- Register a desktop application group
Step 5: Configure FSLogix Profile Containers
FSLogix ensures that user profiles follow users across session hosts, providing a consistent experience regardless of which VM they connect to.
-
Create a Group Policy Object (GPO) or Intune policy for your session hosts
-
Configure FSLogix settings:
- Enable profile containers
- Set the VHD location to your Azure Files share (for example, \\storageaccount.file.core.windows.net\profiles)
- Set the VHD size limit (15 GB is a reasonable default)
- Configure Office container for Outlook caching (optional but improves Outlook performance)
-
Test by signing in as a user and verifying that a profile VHD is created on the Azure Files share
Step 6: Install and Configure Applications
AVD session hosts need the same applications your users rely on.
Microsoft 365 Apps: If you selected a gallery image with Microsoft 365 Apps pre-installed, these are already available. Configure activation using your tenant credentials.
Line-of-business applications: Install these directly on the session hosts or use MSIX app attach for more flexible application delivery.
Browser-based applications: No installation needed — configure bookmarks and default browser settings via Group Policy.
Printers: Configure printer redirection so users can print to their local printers. AVD supports printer redirection natively through the RDP protocol.
Step 7: Configure Security
Multi-Factor Authentication
Require MFA for all AVD connections. Configure this through Azure AD Conditional Access:
- Create a Conditional Access policy targeting the “Azure Virtual Desktop” cloud app
- Require MFA as a grant control
- Optionally, restrict to compliant devices or specific network locations
Network Security
- Configure Network Security Groups (NSGs) to restrict traffic to and from session hosts
- Session hosts should not have public IP addresses. All user connections go through the AVD gateway service.
- If connecting to on-premise resources, ensure the VPN or ExpressRoute connection is properly secured
Session Configuration
- Set idle session timeout (disconnect idle sessions after 30 to 60 minutes)
- Configure session lock on disconnect
- Disable clipboard redirection if data exfiltration is a concern
- Disable drive redirection if users should not copy data to local devices
Step 8: Test and Optimise
User Acceptance Testing
Before rolling out to all users, test with a pilot group:
- Test connectivity from various devices (Windows, Mac, iOS, Android, web browser)
- Test application performance and functionality
- Test printing and peripheral access
- Test profile persistence (sign in, make changes, sign out, sign in to a different host)
- Gather feedback on performance and usability
Performance Optimisation
- Teams optimisation: Install the AVD Teams media optimisation component on session hosts. Without this, Teams video calls are processed on the session host rather than locally, resulting in poor quality.
- OneDrive sync: Configure OneDrive to use Files On-Demand to reduce profile size
- Antivirus exclusions: Configure your antivirus to exclude FSLogix VHD files and AVD agent processes
Step 9: Configure Scaling
For cost management, configure automatic scaling to match capacity with demand.
Azure Virtual Desktop scaling plans:
-
Create a scaling plan in the AVD management portal
-
Configure schedules:
- Ramp-up: 7:00 AM AEST — start turning on additional hosts as users begin signing in
- Peak hours: 9:00 AM to 5:00 PM AEST — all hosts available
- Ramp-down: 5:00 PM AEST — begin draining sessions from excess hosts
- Off-peak: 7:00 PM to 7:00 AM AEST — minimum hosts running
-
Set minimum hosts during off-peak (at least one for early arrivals)
This alone can reduce your compute costs by 40 to 60% compared to running all hosts 24/7.
Cost Estimate for a Typical Deployment
For an Australian SMB with 30 users:
| Component | Monthly Cost (AUD) |
|---|---|
| 4x D4s_v3 VMs (reserved 1-year) | $1,120 |
| Premium SSD OS disks (4x 128 GB) | $95 |
| Azure Files Premium (500 GB) | $115 |
| Azure AD DS (Standard) | $160 |
| Networking (bandwidth) | $30 |
| Total | $1,520 |
That works out to approximately $51 per user per month. Without reserved instances, expect approximately $70 per user per month.
This does not include Microsoft 365 licensing, which you likely already pay for.
Ongoing Management
After deployment, ongoing management tasks include:
- Weekly: Review session host performance and scaling plan effectiveness
- Monthly: Apply Windows updates to session hosts, review costs, check FSLogix profile health
- Quarterly: Review VM sizing based on usage data, update applications, review security configurations
- As needed: Add or remove session hosts as your team size changes
Azure Virtual Desktop is a capable platform for Australian businesses that need centralised, secure desktop environments for remote teams. The initial setup requires careful planning, but once deployed, it provides a consistent, manageable experience that scales with your business.
Extend your cloud services to mobile devices. Awesome Apps builds Flutter and React Native apps that integrate seamlessly with AWS, Azure, and GCP backends.
Cloud Geeks operates under the Ganda Tech Services umbrella, delivering end-to-end technology solutions for Australian businesses.