Migrating from On-Premise Exchange to Microsoft 365

Migrating from On-Premise Exchange to Microsoft 365
If your Australian business is still running an on-premise Exchange Server, you are in good company — but that company is shrinking. The maintenance burden, security patching requirements, and hardware costs of running your own mail server increasingly outweigh the benefits. The Exchange Server vulnerabilities disclosed in 2021 (Hafnium/ProxyLogon and ProxyShell) were a wake-up call for many businesses about the risks of self-managed email infrastructure.
This guide walks through the migration from on-premise Exchange to Exchange Online (part of Microsoft 365), with practical advice specific to Australian businesses.
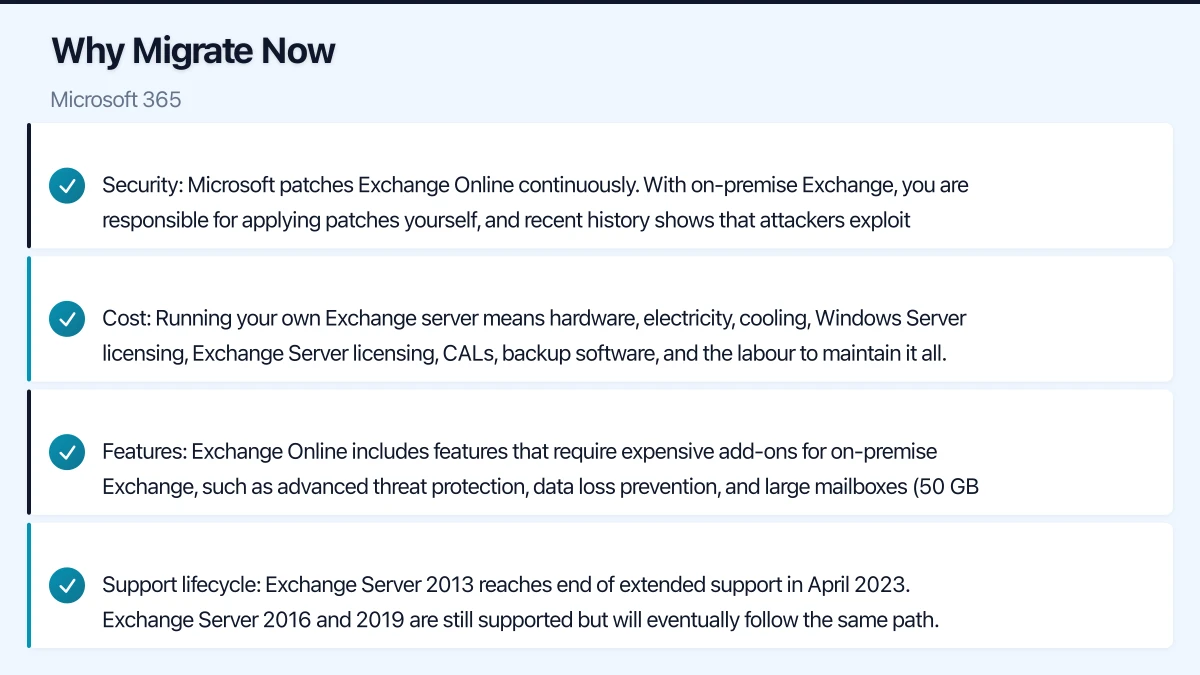
Why Migrate Now
Security: Microsoft patches Exchange Online continuously. With on-premise Exchange, you are responsible for applying patches yourself, and recent history shows that attackers exploit Exchange vulnerabilities quickly.
Cost: Running your own Exchange server means hardware, electricity, cooling, Windows Server licensing, Exchange Server licensing, CALs, backup software, and the labour to maintain it all. For most SMBs, Exchange Online is cheaper when you account for total cost of ownership.
Features: Exchange Online includes features that require expensive add-ons for on-premise Exchange, such as advanced threat protection, data loss prevention, and large mailboxes (50 GB standard, 100 GB with archiving).
Support lifecycle: Exchange Server 2013 reaches end of extended support in April 2023. Exchange Server 2016 and 2019 are still supported but will eventually follow the same path.
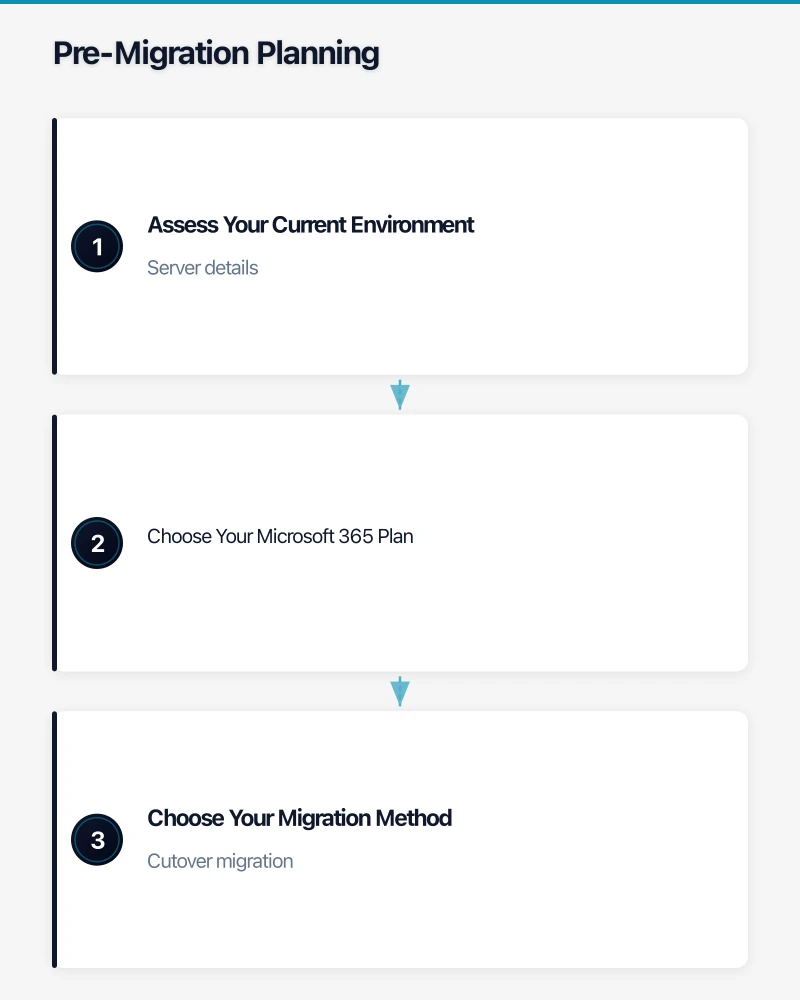
Pre-Migration Planning
Assess Your Current Environment
Before migrating, document your existing Exchange setup:
Server details:
- Exchange Server version and cumulative update level
- Number of mailbox databases
- Total mailbox storage used
- Server hardware specifications
- Current backup configuration
Mailbox inventory:
- Number of active mailboxes
- Number of shared and resource mailboxes (meeting rooms, equipment)
- Largest mailboxes (these take the longest to migrate)
- Distribution groups and their membership
- Mail-enabled public folders (if used)
Client configuration:
- Outlook versions in use across the business
- Mobile devices connecting via ActiveSync
- Any third-party applications that connect to Exchange (CRM, helpdesk, etc.)
- Custom transport rules, retention policies, or compliance features
Choose Your Microsoft 365 Plan
For most Australian SMBs, these are the relevant options:
- Microsoft 365 Business Basic ($9 per user per month): Exchange Online with 50 GB mailboxes, web-only Office apps. Suitable if you only need email and web apps.
- Microsoft 365 Business Standard ($18.70 per user per month): Exchange Online plus desktop Office applications, Teams, and SharePoint. The most popular choice for SMBs.
- Microsoft 365 Business Premium ($33 per user per month): Everything in Standard plus advanced security features including Intune, Azure AD P1, and Defender for Office 365.
All prices are approximate and in Australian dollars excluding GST.
Choose Your Migration Method
The migration method depends on your current Exchange version and the number of mailboxes.
Cutover migration:
- Best for: Under 150 mailboxes, Exchange 2010 or later
- How it works: All mailboxes are migrated at once over a weekend
- Duration: Typically 24 to 72 hours for under 50 mailboxes
- Pros: Simple, single migration event
- Cons: All-or-nothing approach, requires a maintenance window
Staged migration:
- Best for: Over 150 mailboxes, Exchange 2003 or 2007
- How it works: Mailboxes are migrated in batches over days or weeks
- Duration: Varies based on batch sizes
- Pros: Gradual transition, less risk
- Cons: More complex, requires directory synchronisation
Hybrid migration:
- Best for: Exchange 2010 SP3 or later, businesses wanting a gradual transition or long-term coexistence
- How it works: On-premise Exchange and Exchange Online coexist, sharing a single address book. Mailboxes can be moved individually.
- Duration: Days to months, depending on your pace
- Pros: Most flexible, minimal user disruption, rich coexistence features
- Cons: Most complex to set up, requires the on-premise server to remain operational during transition
For most Australian SMBs with under 50 mailboxes, a cutover migration is the simplest and fastest approach. For businesses with 50 to 200 mailboxes, hybrid migration provides the best user experience.
Step-by-Step Migration Process
This guide focuses on the cutover migration method, which is most appropriate for typical Australian SMBs.
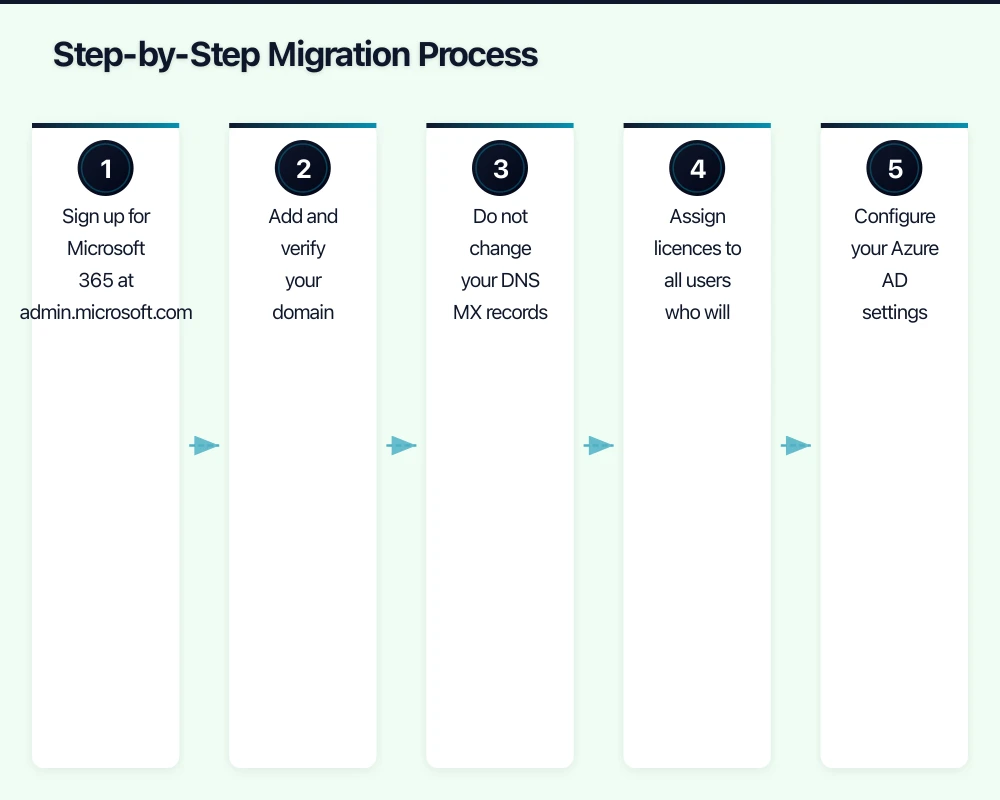
Step 1: Prepare Your Microsoft 365 Tenant
- Sign up for Microsoft 365 at admin.microsoft.com
- Add and verify your domain (yourcompany.com.au)
- Do not change your DNS MX records yet. This is critical — changing MX records too early will redirect email before mailboxes are migrated.
- Assign licences to all users who will have mailboxes
- Configure your Azure AD settings (refer to our Azure AD guide for details)
Step 2: Prepare Your On-Premise Exchange
- Ensure your Exchange server is running the latest cumulative update
- Configure Outlook Anywhere (Exchange 2010) or MAPI over HTTP (Exchange 2013/2016/2019) if not already enabled
- Verify autodiscover is working correctly (test at testconnectivity.microsoft.com)
- Ensure your firewall allows outbound connections to Microsoft 365 endpoints
- Obtain a valid SSL certificate for your Exchange server if you do not already have one
Step 3: Run a Test Migration
Before migrating all mailboxes, test with one or two non-critical mailboxes.
- In the Microsoft 365 admin centre, go to “Setup” then “Data migration”
- Select “Exchange” as the migration type
- Enter your on-premise Exchange server details
- Select one or two test mailboxes
- Start the migration and monitor progress
Check that the test mailboxes have all their email, calendar items, and contacts after migration.
Step 4: Communicate With Your Team
Before the full migration, inform all staff about:
- When: The date and time of the migration (ideally a Friday evening or Saturday)
- What to expect: Email may be delayed during migration, Outlook will need to be reconfigured
- What they need to do: Have their new Microsoft 365 credentials ready, be prepared to reconfigure Outlook and mobile devices
- Who to contact: IT support contact details for issues during and after migration
Step 5: Perform the Full Migration
- Start the cutover migration for all mailboxes
- Monitor the migration dashboard for errors
- Common issues and solutions:
- Large mailboxes timing out: These may need to be migrated separately or in smaller batches
- Corrupted items: Exchange Online will skip corrupted items by default. Review the error report after migration.
- Public folders: These need separate migration using the public folder migration scripts provided by Microsoft
Step 6: Switch DNS Records
Once migration is complete and verified:
- Update your domain’s MX record to point to Microsoft 365 (the admin centre provides the exact record)
- Update your SPF record to include Microsoft 365
- Update your autodiscover CNAME record
- DNS propagation typically takes 24 to 48 hours, though many providers update within an hour
Australian DNS considerations: If your domain is registered with a .com.au registrar, use their DNS management portal to update records. Most Australian registrars (Melbourne IT, VentraIP, Crazy Domains, Synergy Wholesale) support all required record types.
Step 7: Reconfigure Client Devices
Outlook desktop clients:
- Outlook 2016 and later should automatically detect the new configuration through autodiscover
- Older Outlook versions may need a new profile created
- Remove the old Exchange account and add the Microsoft 365 account
Mobile devices:
- Remove the existing Exchange account from the device
- Add the new Microsoft 365 account
- If using Intune, the configuration can be pushed automatically
Third-party applications:
- Update SMTP settings for any applications that send email through your Exchange server
- Applications using SMTP relay will need to be reconfigured to use Microsoft 365’s SMTP relay or direct send
Step 8: Decommission the On-Premise Server
Do not rush this step. Keep your on-premise Exchange server running for at least 30 days after migration to catch any issues.
After the decommission grace period:
- Verify all data has been migrated successfully
- Ensure no applications are still connecting to the old server
- Take a final backup of the Exchange databases
- Uninstall Exchange Server
- If the server is no longer needed for other roles, decommission it entirely
Post-Migration Tasks
Configure Email Security
After migration, configure these email security features:
- DKIM (DomainKeys Identified Mail): Enable in the Microsoft 365 admin centre for each verified domain
- DMARC: Add a DMARC record to your DNS (start with a monitoring policy: v=DMARC1; p=none; rua=mailto:[email protected])
- Anti-phishing policies: Configure in the Security and Compliance Centre
- Safe Links and Safe Attachments: Available with Microsoft 365 Business Premium or Defender for Office 365
Set Up Archiving and Retention
Exchange Online includes In-Place Archiving (additional 50 GB archive mailbox per user) and retention policies:
- Configure a default retention policy for all mailboxes
- Enable In-Place Archive for mailboxes that need additional storage
- Set up litigation hold for any mailboxes subject to legal requirements
Monitor and Optimise
In the first 30 days after migration:
- Monitor the Microsoft 365 service health dashboard for any issues
- Check mail flow reports for delivery failures
- Verify all distribution groups are working correctly
- Confirm that calendar sharing and resource booking function properly
- Review and update any compliance or data loss prevention policies
Common Migration Pitfalls
Not testing thoroughly. Always run a test migration before the full cutover. This catches permission issues, connectivity problems, and corrupt data before they affect all users.
Forgetting about shared mailboxes. Shared and resource mailboxes need to be migrated too. They do not require a licence in Microsoft 365 if under 50 GB and not directly logged into.
Ignoring Outlook version compatibility. Outlook 2010 and earlier are not supported with Exchange Online. Ensure all users have Outlook 2013 or later (preferably Outlook 2016 or Microsoft 365 Apps).
DNS changes too early. Changing MX records before mailbox migration is complete means new email arrives in Microsoft 365 where the mailboxes may not exist yet.
Not accounting for public folders. If your business uses Exchange public folders, these require a separate migration process. Plan for this in advance.
Forgetting SMTP relay devices. Printers, scanners, and line-of-business applications that send email through Exchange need reconfiguration. Make a list before migration.
Timeline and Budget
Typical timeline for an Australian SMB with 20 to 30 mailboxes:
- Week 1-2: Planning, assessment, and Microsoft 365 tenant setup
- Week 3: Test migration and staff communication
- Week 4: Full migration (Friday evening to Monday morning)
- Week 5-8: Post-migration monitoring and optimisation
- Week 8-12: Decommission on-premise server
Budget considerations:
- Microsoft 365 licensing: $18.70 per user per month (Business Standard)
- Migration support from an MSP: $2,000 to $5,000 for a typical SMB
- New Outlook licences if needed: Included with Microsoft 365
- DNS configuration: Usually no cost (done through your domain registrar)
- Potential hardware cost savings: Decommissioning the Exchange server eliminates hardware, electricity, and maintenance costs
The migration itself is a one-time effort, but the ongoing benefits — reduced maintenance, improved security, and better features — make it one of the most impactful IT improvements an Australian small business can make.
Want your team to manage cloud operations from their phones? Awesome Apps creates mobile dashboards and management tools for Australian SMBs.
Ashish Ganda is the founder of Ganda Tech Services, a Sydney-based technology consultancy helping Australian businesses grow through cloud, web, and mobile solutions.