Azure Active Directory Setup for Small Business
Azure Active Directory Setup for Small Business
Azure Active Directory (Azure AD) is the backbone of identity management for any business using Microsoft 365 or Azure services. If your Australian small business has a Microsoft 365 subscription, you already have Azure AD — but chances are you have barely configured it beyond the initial setup.
This guide walks you through configuring Azure AD properly for a small business, covering the settings that matter most for security, usability, and management.
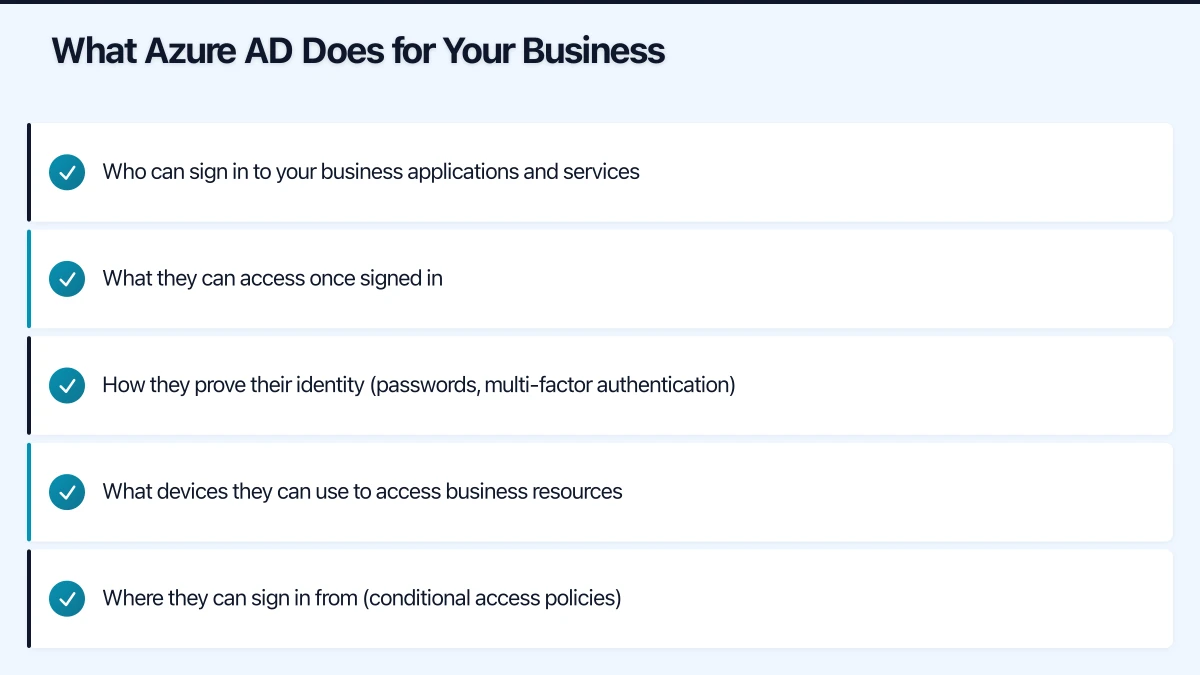
What Azure AD Does for Your Business
Think of Azure AD as the digital gatekeeper for your business. It manages:
- Who can sign in to your business applications and services
- What they can access once signed in
- How they prove their identity (passwords, multi-factor authentication)
- What devices they can use to access business resources
- Where they can sign in from (conditional access policies)
If you are using Microsoft 365, every user account, group, and licence assignment is managed through Azure AD. But Azure AD also connects to thousands of third-party applications, making it a central identity platform for your entire business.
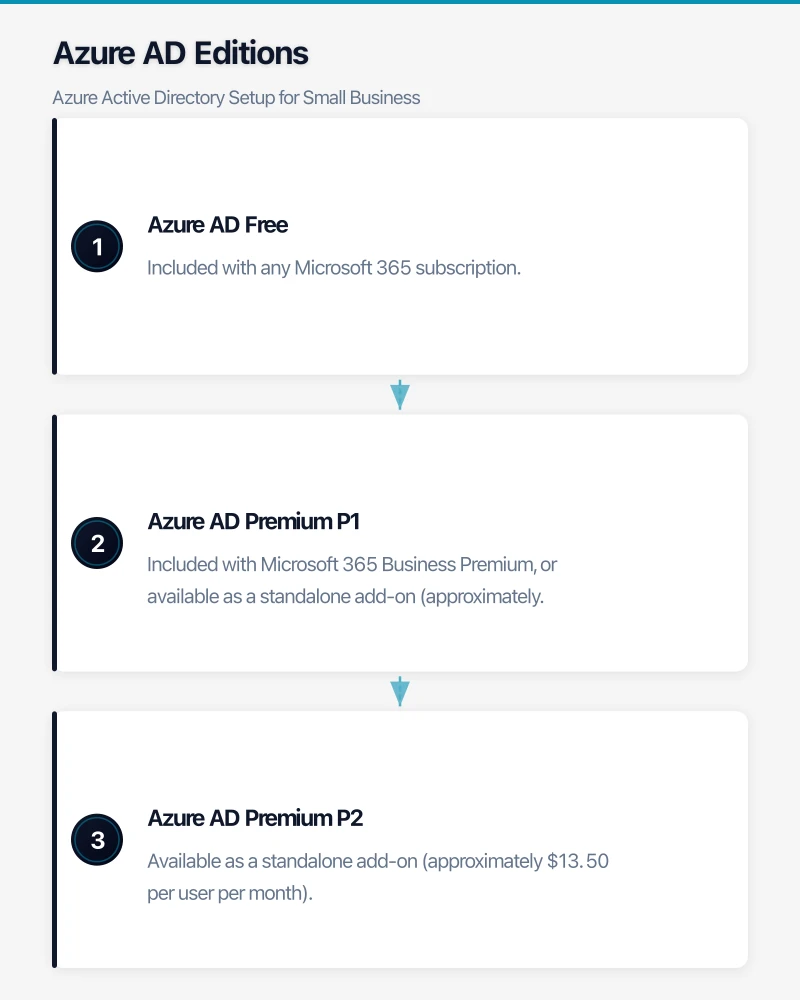
Azure AD Editions
Understanding what you have access to is important before you start configuring.
Azure AD Free: Included with any Microsoft 365 subscription. Provides basic user and group management, single sign-on for integrated apps, and basic security reports.
Azure AD Premium P1: Included with Microsoft 365 Business Premium, or available as a standalone add-on (approximately $9 per user per month). Adds conditional access, dynamic groups, self-service password reset, and on-premises integration.
Azure AD Premium P2: Available as a standalone add-on (approximately $13.50 per user per month). Adds identity protection, privileged identity management, and access reviews.
For most Australian SMBs, Azure AD Premium P1 (through Microsoft 365 Business Premium) provides the best balance of features and cost.
Step 1: Verify Your Tenant Configuration
Start by confirming your Azure AD tenant is correctly configured.
Sign in to portal.azure.com with your administrator account and navigate to Azure Active Directory.
Check your tenant properties:
- Go to “Properties” in the Azure AD blade
- Verify your organisation name and country (should be Australia)
- Confirm your technical contact details are current
- Note your Tenant ID — you will need this for various integrations
Verify your domain:
- Go to “Custom domain names”
- Your default domain will be something like yourcompany.onmicrosoft.com
- If you have not already, add and verify your business domain (for example, yourcompany.com.au)
- Set your business domain as the primary domain
Having your own domain verified means user accounts appear as [email protected] rather than [email protected].
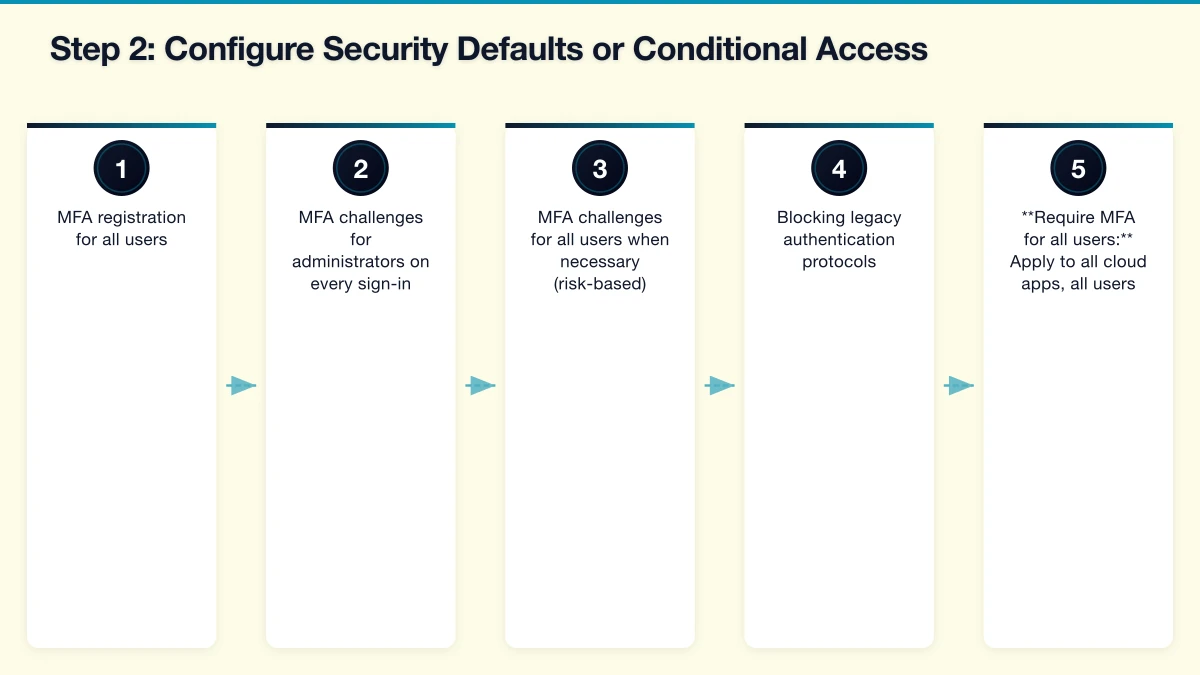
Step 2: Configure Security Defaults or Conditional Access
This is the single most impactful security configuration you can make.
Security Defaults (Azure AD Free and P1):
Security Defaults is a set of pre-configured security settings that Microsoft recommends for all organisations. It enables:
- MFA registration for all users
- MFA challenges for administrators on every sign-in
- MFA challenges for all users when necessary (risk-based)
- Blocking legacy authentication protocols
To enable Security Defaults:
- Go to Azure Active Directory then Properties
- Click “Manage Security defaults”
- Set “Enable Security defaults” to Yes
Conditional Access (Azure AD P1 required):
If you have Azure AD P1, consider using Conditional Access policies instead of Security Defaults for more granular control. You cannot use both simultaneously.
Recommended Conditional Access policies for SMBs:
- Require MFA for all users: Apply to all cloud apps, all users (exclude break-glass accounts)
- Block legacy authentication: Prevent connections using outdated protocols that do not support MFA
- Require compliant devices for sensitive apps: If using Intune for device management
- Block sign-ins from high-risk locations: If your staff only work from Australia, consider blocking sign-ins from other countries (with exceptions for travel)
Step 3: Set Up User Accounts Properly
Resist the temptation to create user accounts ad-hoc. A structured approach saves significant time as your business grows.
Naming convention: Establish a consistent format. Common options include:
- [email protected]
- [email protected]
- [email protected] (for very small businesses)
Pick one and stick with it.
User creation checklist:
- Create the user account with your naming convention
- Assign the appropriate Microsoft 365 licence
- Add the user to relevant security groups
- Set the usage location to Australia (required for licence assignment)
- Configure the user’s manager and department
- Register the user for MFA
Break-glass accounts: Create two emergency access accounts that are:
- Not associated with any individual
- Not subject to MFA or Conditional Access policies
- Using very long, complex passwords stored securely (for example, in a physical safe)
- Monitored for any sign-in activity
- Global Administrator role assigned
These accounts are your failsafe if MFA systems fail or your primary admin accounts are compromised.
Step 4: Organise Groups
Groups in Azure AD control access to resources, applications, and email distribution. Plan your groups carefully.
Security groups (for access control):
- All Staff
- Management
- Department-specific groups (Sales, Operations, Finance)
- Project-specific groups as needed
Microsoft 365 groups (for collaboration):
- These automatically create a shared mailbox, SharePoint site, and Teams channel
- Use these for teams that need ongoing collaboration spaces
Dynamic groups (Azure AD P1):
- Membership is automatically determined by user attributes
- For example, a group that automatically includes all users in the “Sydney” office based on their office location attribute
- Reduces manual group management overhead
Step 5: Configure Self-Service Password Reset (SSPR)
Self-service password reset reduces help desk calls and improves user experience. With Azure AD P1, you can enable SSPR for all users.
Configuration steps:
- Go to Azure Active Directory then Password reset
- Set SSPR to “All” or “Selected” (start with a pilot group if preferred)
- Configure authentication methods (require at least two):
- Mobile phone (SMS or voice call)
- Email (alternate email address)
- Microsoft Authenticator app
- Set registration requirements (require users to register when signing in)
- Configure notification settings (notify users and admins of password resets)
Test SSPR by having a user attempt to reset their password at aka.ms/sspr before rolling it out to all staff.
Step 6: Integrate Third-Party Applications
Azure AD can serve as the identity provider for thousands of third-party applications, providing single sign-on (SSO) and centralised access management.
Common applications Australian SMBs integrate with Azure AD:
- Xero or MYOB (accounting)
- Salesforce or HubSpot (CRM)
- Slack (if used alongside Teams)
- Zoom (video conferencing)
- DocuSign (document signing)
- Various industry-specific applications
To add an application:
- Go to Azure Active Directory then Enterprise applications
- Click “New application”
- Search for the application in the gallery
- Follow the configuration guide for that application
Each integrated application means one less password for your users to manage and one more application under your centralised access control.
Step 7: Configure Device Registration
If your staff use personal or company devices to access business resources, Azure AD device registration helps you manage and secure those devices.
Azure AD registered devices: For personal devices (BYOD). Users register their device, giving your organisation limited management capability.
Azure AD joined devices: For company-owned Windows devices. The device is joined directly to Azure AD, enabling full management through Intune if licensed.
Hybrid Azure AD joined devices: For organisations with on-premises Active Directory. Devices are joined to both on-premises AD and Azure AD.
For most small businesses without on-premises AD, Azure AD join is the cleanest approach for company-owned devices.
Step 8: Review and Configure Admin Roles
Do not give Global Administrator access to everyone who needs to manage something in Azure AD. Use the principle of least privilege.
Common admin roles for SMBs:
- Global Administrator: Only for your primary IT administrator and break-glass accounts (aim for under four)
- User Administrator: For staff who manage user accounts and groups
- Helpdesk Administrator: For staff who reset passwords and manage basic user issues
- SharePoint Administrator: For managing SharePoint Online
- Exchange Administrator: For managing Exchange Online and email
Review admin roles quarterly. People change roles, leave the business, or accumulate permissions over time. Regular reviews prevent privilege creep.
Step 9: Enable Sign-In and Audit Logs
Azure AD provides detailed logging that is essential for security monitoring and compliance.
Sign-in logs show every authentication attempt, including:
- User identity
- Application accessed
- Device and location information
- MFA status
- Success or failure with reason codes
Audit logs track changes to your directory:
- User account creation and modification
- Group membership changes
- Application configuration changes
- Policy modifications
With Azure AD Free, logs are retained for seven days. With Azure AD P1, you can retain logs for up to 30 days and export them to Azure Monitor, a SIEM, or a storage account for longer retention.
For compliance purposes, consider exporting logs to a storage account and retaining them for at least 12 months.
Step 10: Plan for Growth
As your business grows, your Azure AD configuration should evolve.
Under 20 users: Focus on MFA, basic groups, and SSPR. Manual user management is fine.
20 to 50 users: Consider dynamic groups, Conditional Access policies, and integrating more third-party applications for SSO. Start using naming policies for groups and automated user provisioning.
Over 50 users: Evaluate Azure AD P2 for identity protection and access reviews. Consider implementing identity governance features and automated lifecycle management.
Common Mistakes to Avoid
Not enabling MFA immediately. This should be the first thing you configure. Australian businesses are frequent targets for credential-based attacks.
Using shared accounts. Every person should have their own account. Shared accounts make audit trails meaningless and create security gaps.
Ignoring the sign-in logs. Review failed sign-in attempts at least weekly. Unusual patterns can indicate an attack in progress.
Not removing access for departed employees. Block sign-in access on the last day of employment. Convert the mailbox to a shared mailbox for business continuity, then delete the account after your data retention period.
Skipping the break-glass accounts. If your only administrator account is locked out due to an MFA issue or compromise, you need a way back in.
Next Steps
A properly configured Azure AD gives your Australian small business a solid identity foundation. From here, consider:
- Implementing Microsoft Intune for device management
- Enabling Azure AD Application Proxy for secure access to on-premises applications
- Configuring Azure AD B2B for secure external collaboration
- Exploring passwordless authentication options like Windows Hello for Business
Azure AD is one of those platforms where time invested in proper configuration pays dividends in security, user experience, and reduced management overhead. Do it right from the start, and you will thank yourself later.
For insights on building a technology roadmap that ties cloud, web, and mobile together, visit Ash Ganda’s blog.
This article is brought to you by Ganda Tech Services — Sydney’s complete digital solutions provider covering cloud, web, and mobile.